Just made a quick tutorial on how using HGW wet transfers. What are wet transfers? Well, imagine a normal decal but with carrier film placed on top of graphic instead of graphic printed on carrier film. The end result is simply stunning. I hope someone will find this tutorial useful.
1. First remove the protective foil from transfers

2. Cut out the chosen transfer with scalpel.

3. Prepair the surface with Gunze Mr. Mark Setter (don't use anything else - this acts as a glue so the transfer sticks to the surface at the end)

4. Soak the transfer in a warm water for 15-20 seconds

5. Slide the transfer onto the surface you have previously prepaired with Mr. Mark Setter. Place it to the desired position.

6. Remove the excess setter and water with a brush, cotton swab or paper tissue.

REALLY IMPORTANT!!! LEAVE THE TRANSFERS TO DRY FOR AT LEAST 6 HOURS. BETTER STILL, LEAVE TO DRY OVERNIGHT
7. Then carefully peel off the carrier foil.

8. And clean the surface with damp cloth or cotton swab.

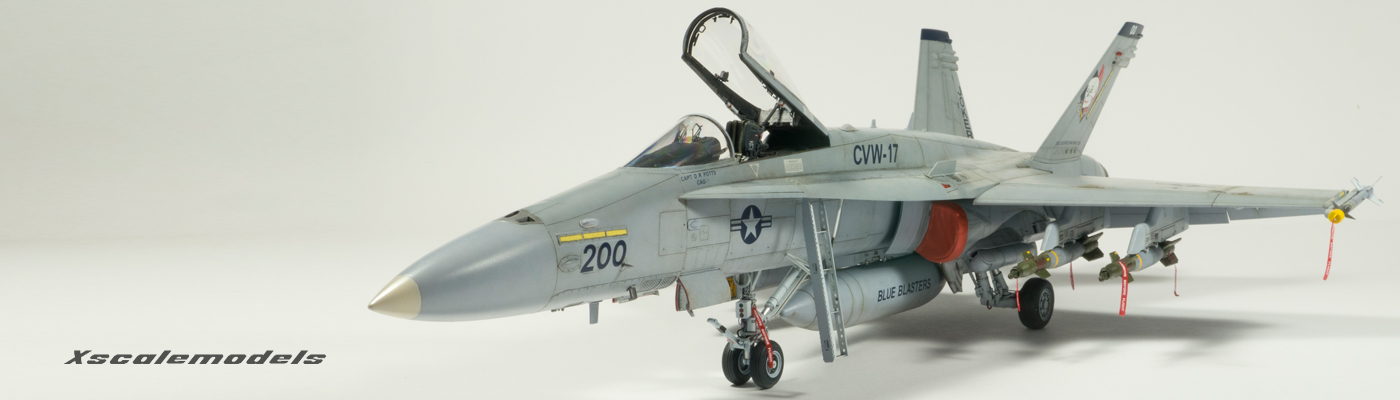
9. End result is simply stunning. As you can see, the roundel is the classic decal and You can notice a carrier film. Transfers however, are perfect.

No comments:
Post a Comment